Work (that is, single booking jobs, group event jobs, shifts), activities, and availability/Unavailability can be managed directly from the Resource Calendar.
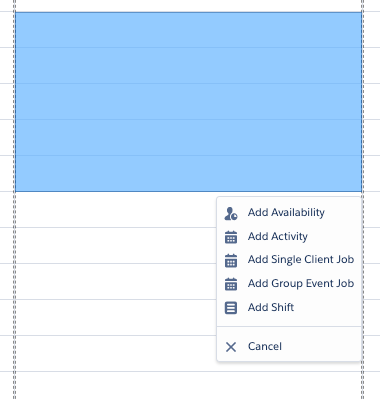
When selecting a time block in the future, you have the option to add a work, activity, or availability item. Access is controlled via a custom setting. Select Cancel to hide the options and return to the console.
Adding a Single Client Job
The Add Single Client Job option opens the single booking Schedule Job modal with the date already pre-populated along with the Resources Tags.
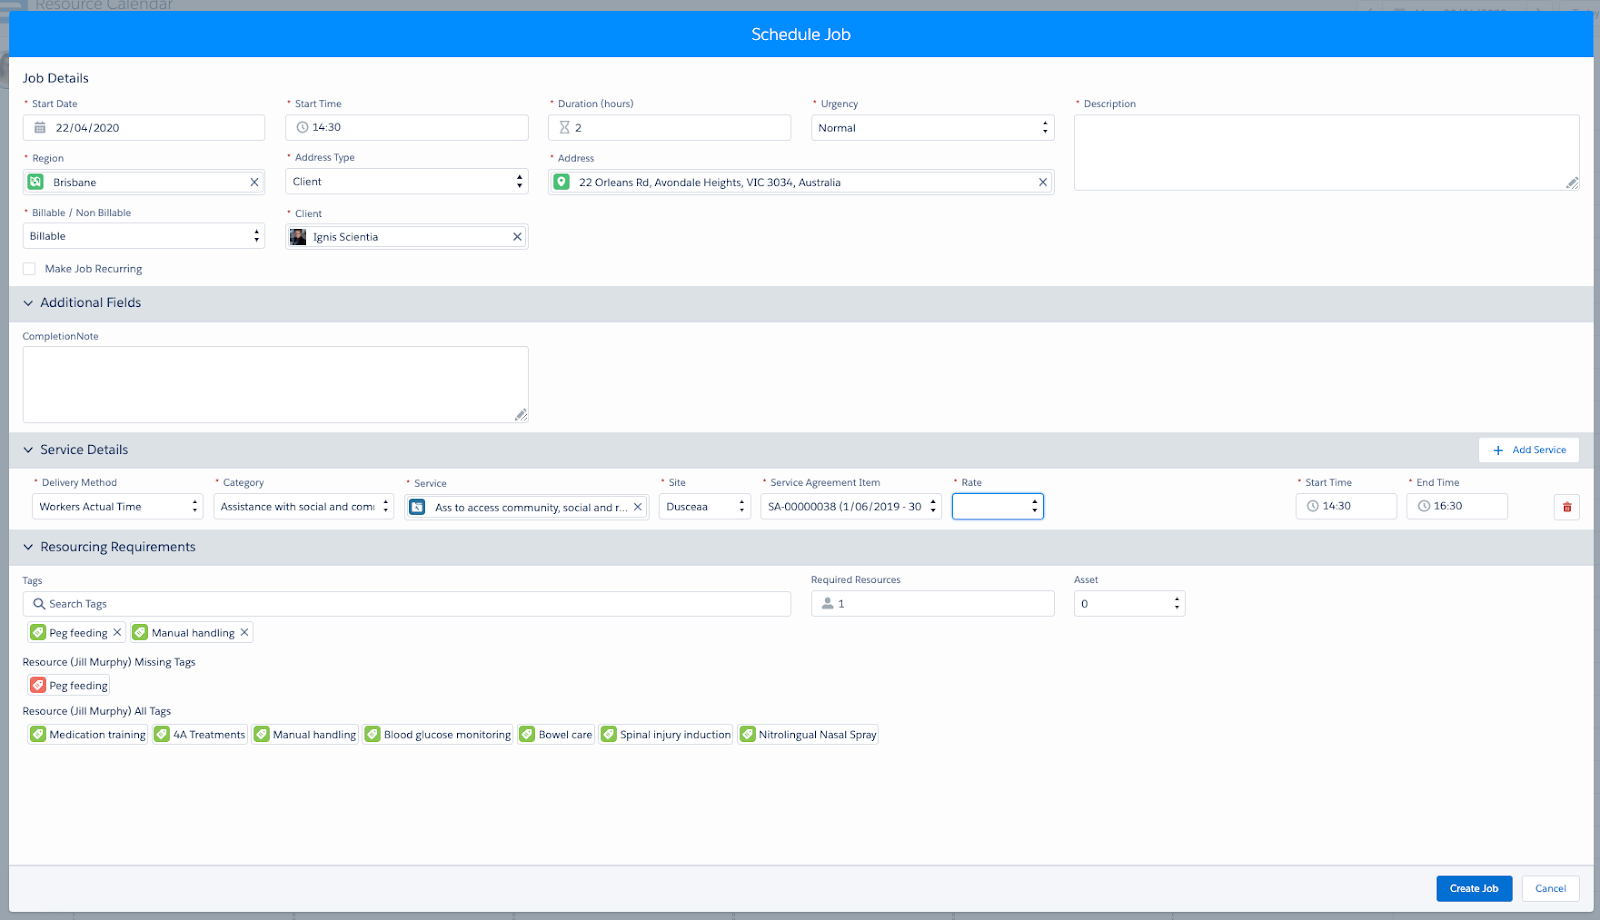
Schedule Job modal
After the client is selected, the region populates (if the region is already populated on the client record), along with the client’s tags. Any missing client tags that are not covered by the resource tag will be identified in Red.
When the job has been created, the Exception checks will be done. Refer to Managing a Single Client Job for details
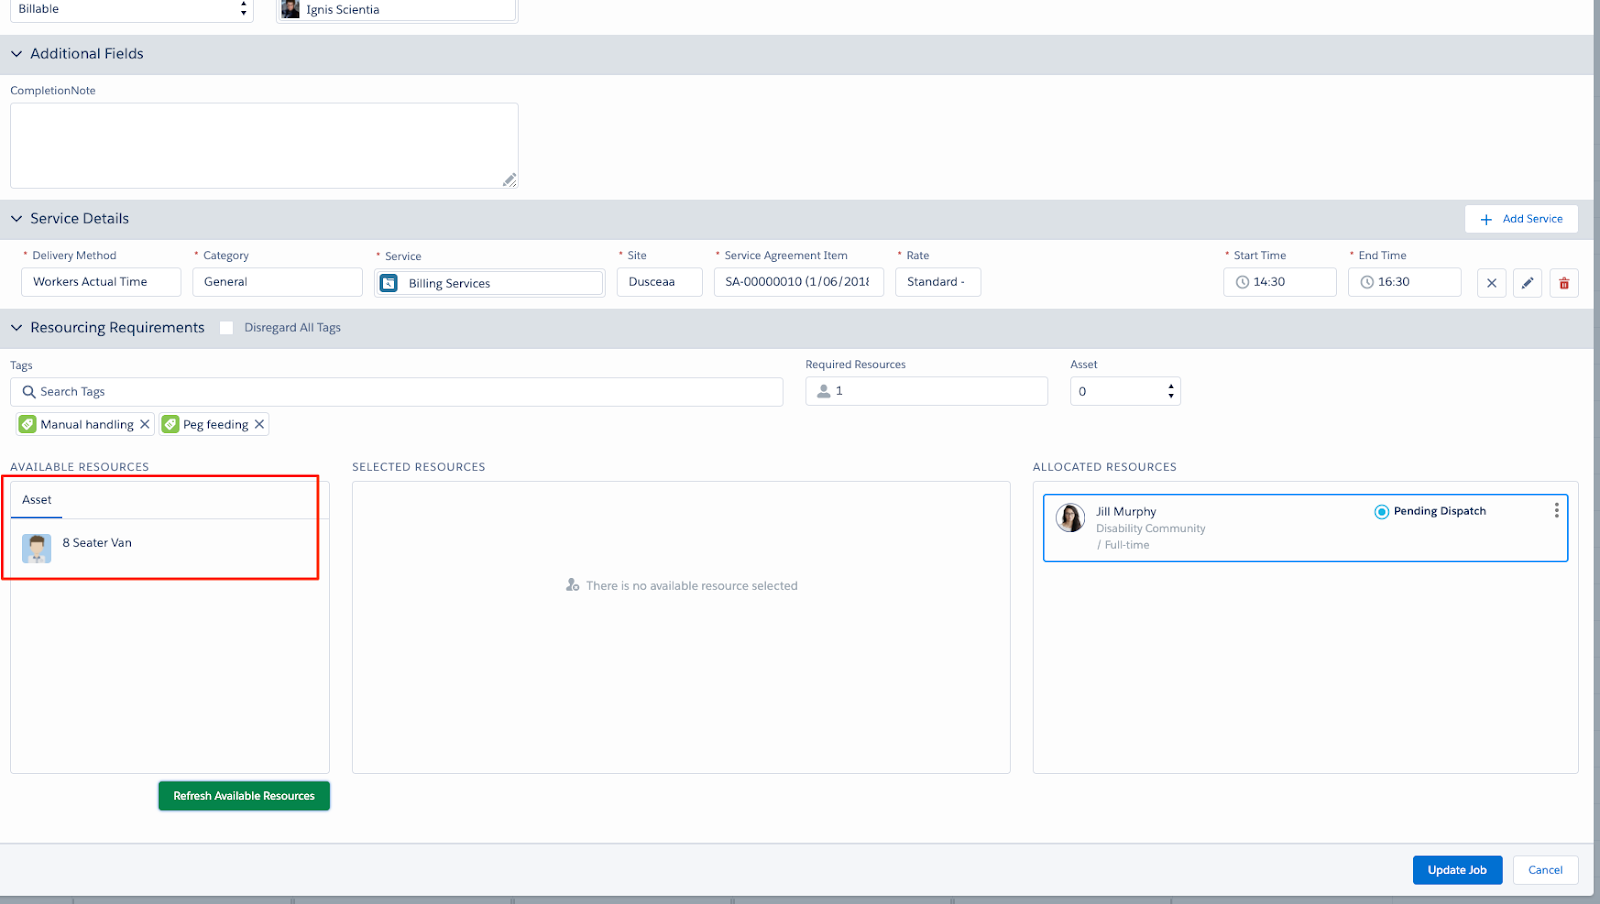
When you save, the resource will be allocated to the job and there will be the option to add an available asset or other resources, depending on your solution.
Viewing a Single Client Job
Hover over the job record to display a summary of the job.
The fields on the hover can be defined in the custom setting Skedulo Configs: RM_JOB_HOVER_FIELDS
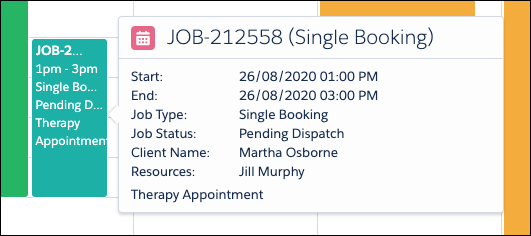
View Job example
Updating a Single Client Job
Right-click an existing single client job record to display options for managing the job.

Job Options
- Edit Job – Select to edit job details. This will open the Job Creation screen with all the details pre-populated.
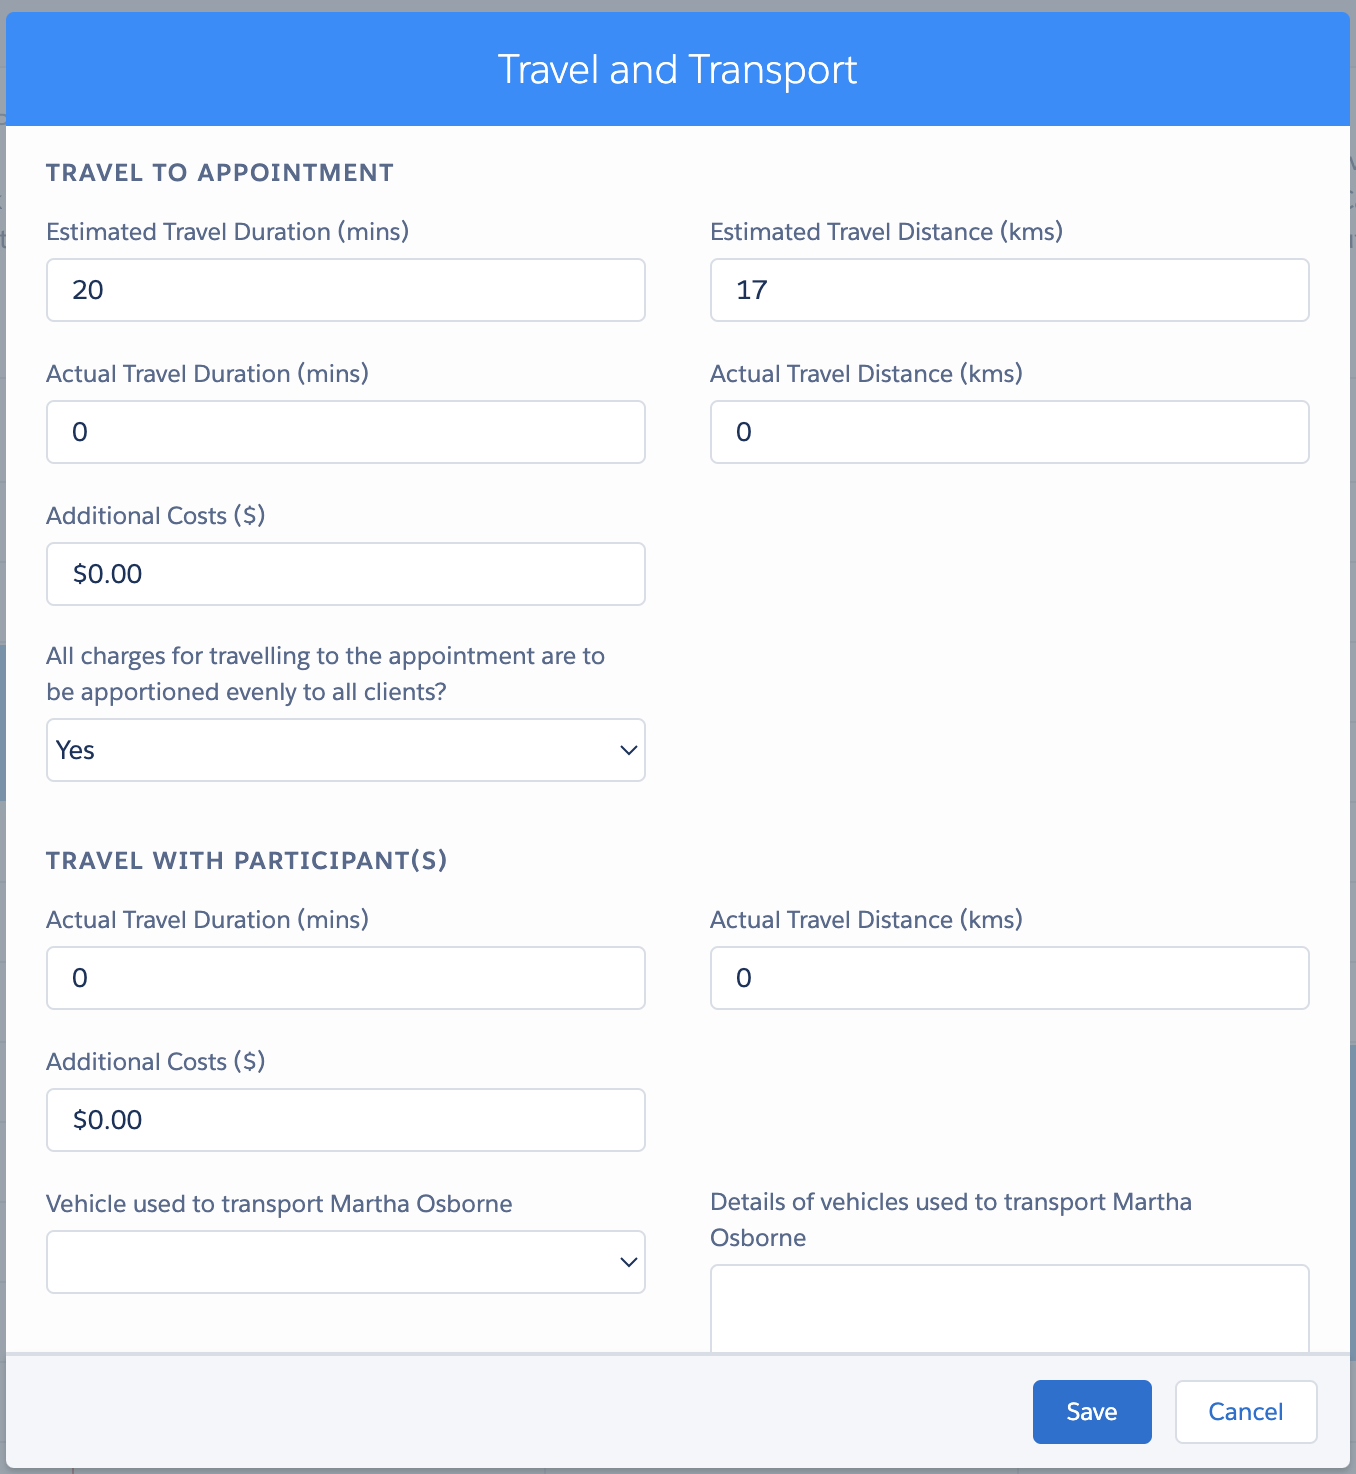
- Travel and Transport – Select to view or edit Travel and Transport information. This will open the same form used in the Timesheet Console which is a replication of the Travel and Transport form
- Remove from Job – Will remove the resource from the job and the job will revert back to a Pending Allocation status so a scheduler can allocate another resource to this within the Skedulo web. Only a single job at a time can be deleted (there is no recurring option).
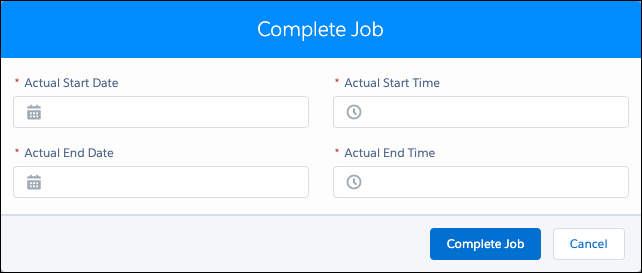
- Complete Job – Select to open a modal enabling the completion of the job.
- Enter the actual start date/time and actual end/date time for the work
- Select ‘Complete Job’ to save the information and set the job status to ‘Complete’
- Select ‘Cancel’ to exit the ‘Complete Job’ modal without saving any information. The job status will remain as is.
- Cancel Job – A cancellation reason must be selected for the job to be cancelled. There is also the option to indicate if the job will be billable or not.
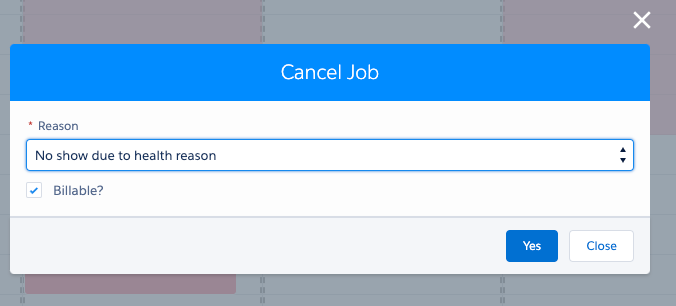
Note: When a job is cancelled and falls within the ‘late cancellation’ time period, an activity will be created in place of the cancelled job. This activity can then be used to pay for the resource that had been previously allocated to this job. Please refer to your CSM to enable this option.
Cancelling a Recurring Job
Right click on a recurring job. Then select “Cancel Job”, and the Cancel Job popup is displayed.
Cancel recurring Job modal
- Select a Reason for why the job is being cancelled.
- Add Notes about the job cancellation, if required.
- Billable – specify whether this job is charged or not
- Cancel Recurring – specify whether you want to cancel a single job or recurring jobs.
- There are 3 options to cancel the recurrences:
- Same Weekday – This option will cancel the current job and all jobs within the recurring schedule that have start day of the week = start day of the week of current job, but with job status != “complete” or “cancelled”.
- Following Events – This option will cancel the current job and all future jobs within the recurring schedule that have start date >= start date of current job, but with job status != “complete” or “cancelled”.
- All Events – This option will cancel the all jobs within the recurring schedule that have job status != “complete” or “cancelled”.
- Select Cancel Recurring options and select “Yes”
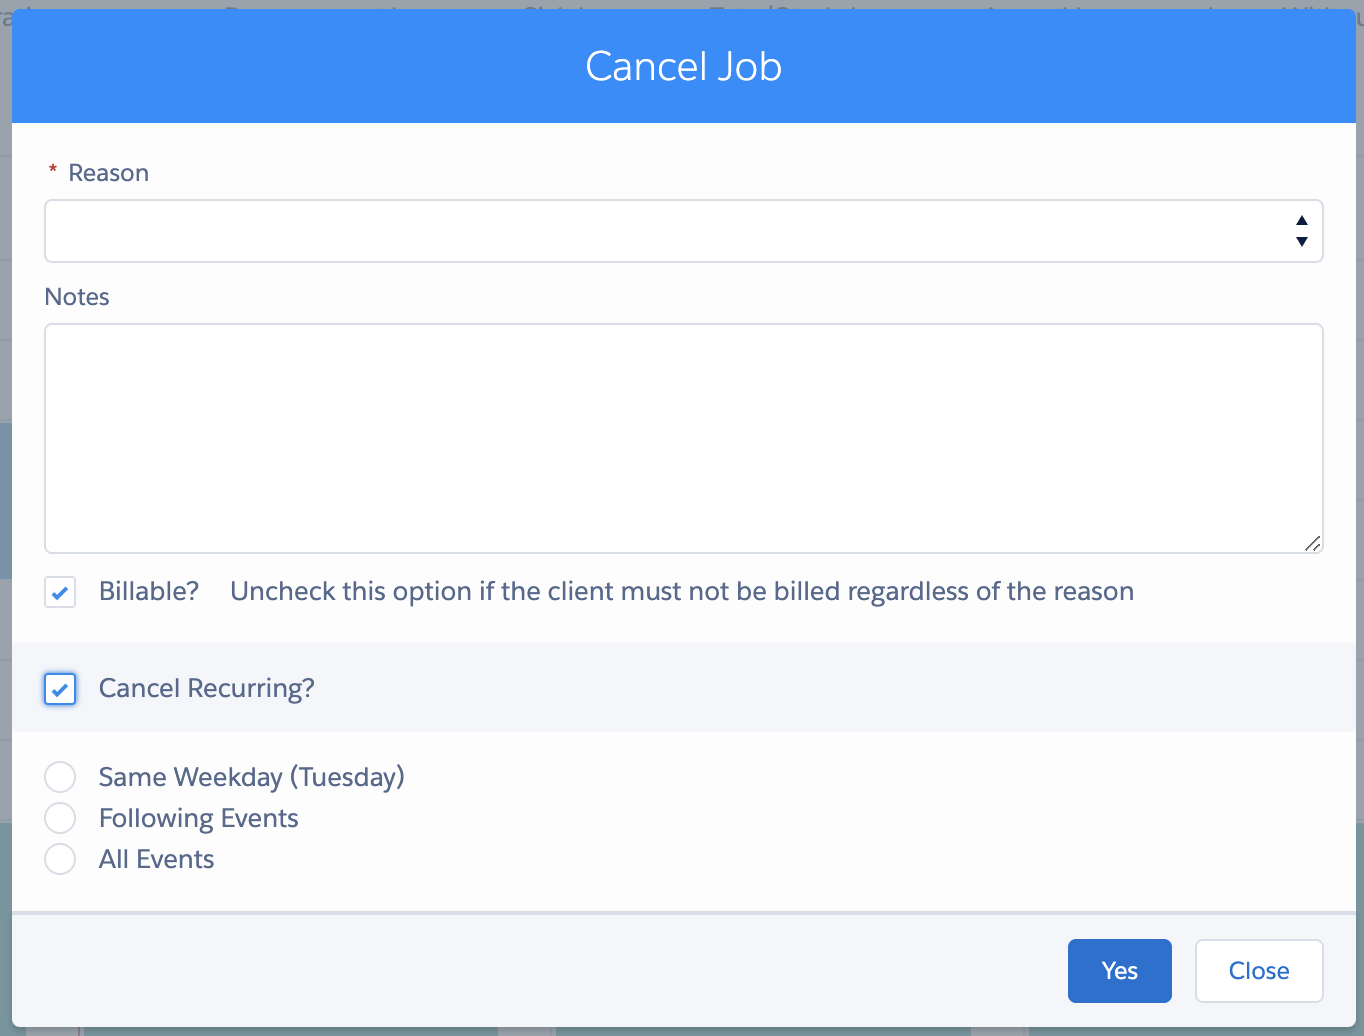
7. All jobs being cancelled will capture the same values in “Reason”, “Notes” and “Billable” fields.