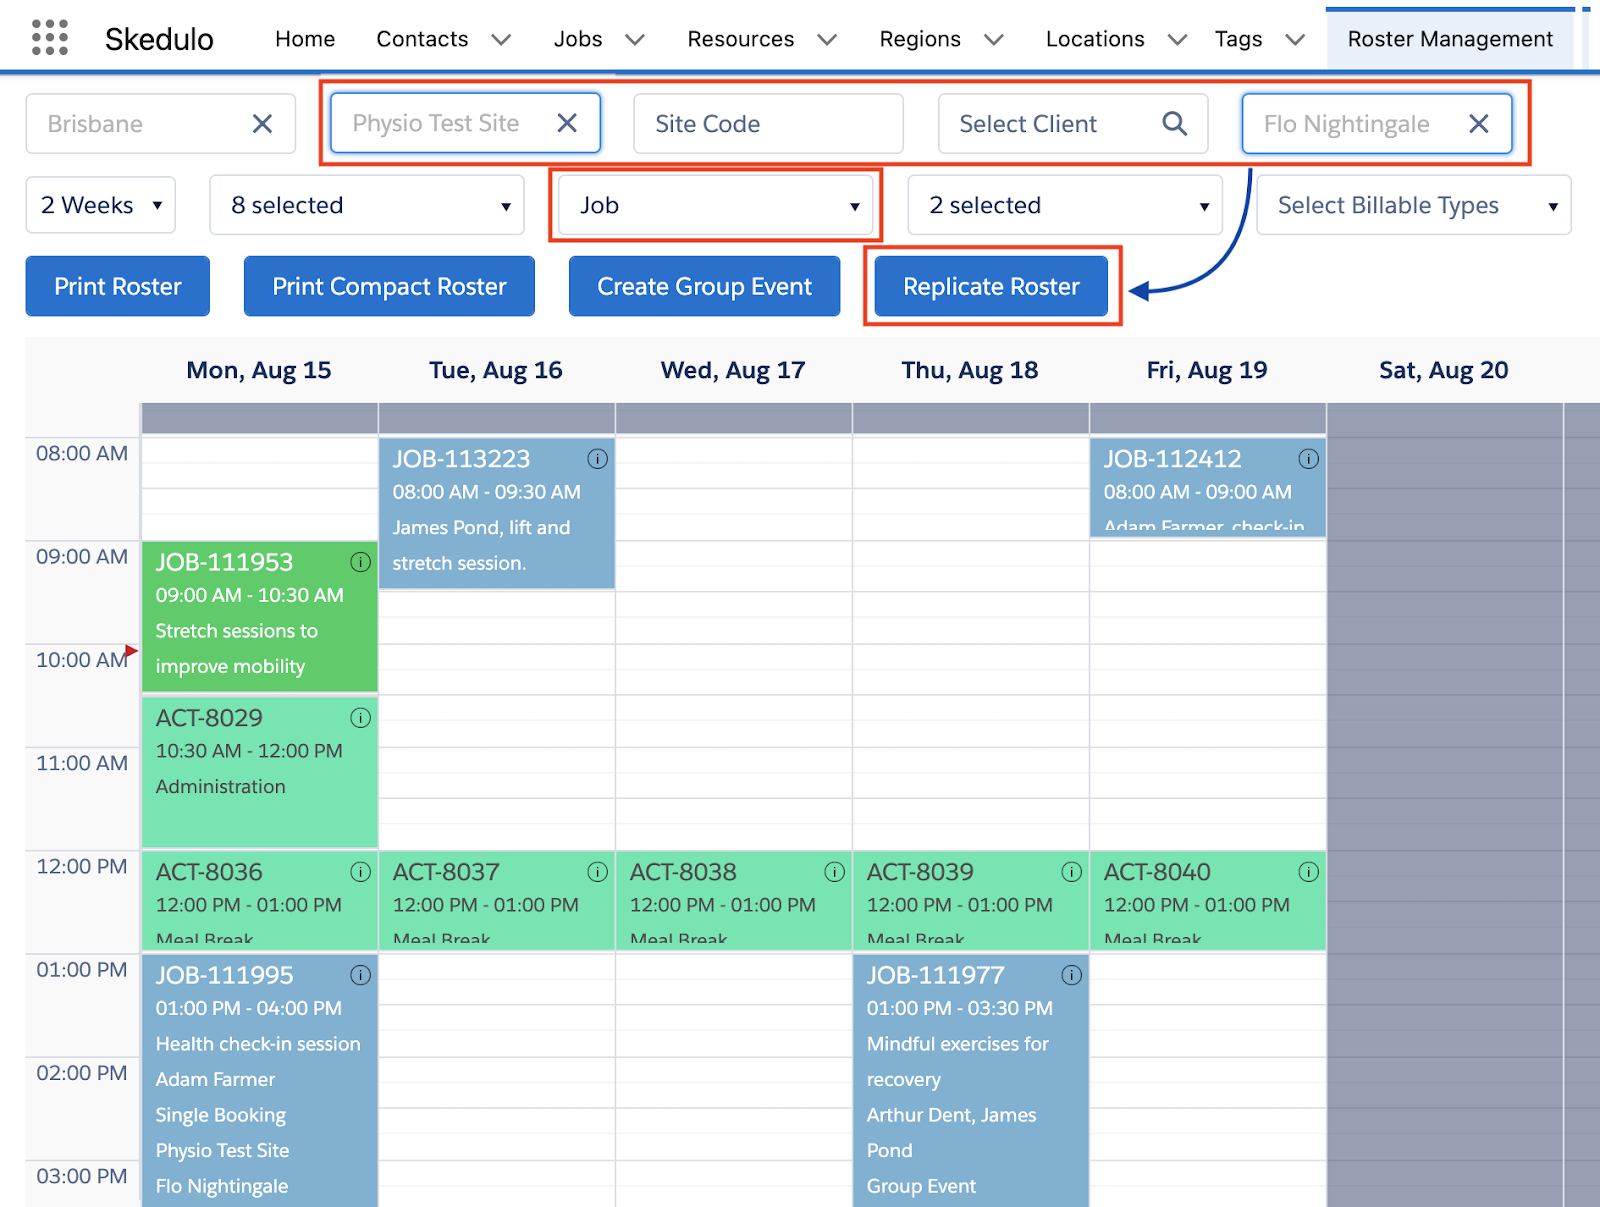
The Replicate Roster function enables schedulers to copy a roster of jobs or shifts from one time period to another. A roster of jobs or shifts can be replicated when the view is filtered for location, site, client, resource, or combination.
Note: The RM_Allow_Replicate_Roster custom setting will need to be set to true to enable replication and the RM_Allow_Batch_Replication custom setting should be set to true if a large number of records get replicated
To replicate a roster from the Roster Management Console:
- Select a primary filter (i.e Location, Site, Client, Resource), or a combination; to display the roster records to copy.
- Set the View filter to Job or Shift, and click Replicate Roster.
The Job or Shift Replication modal displays.

- Check and update the replication details, as needed:
- Source Period – The dates the roster will be copied from.
Note: The maximum source and replication period is 2 weeks. - Replication Period – The dates the roster will be copied to.
- Skip Holidays – When ticked, records will not be copied to days marked as Holidays.
- Replicate Resources (for jobs) – When ticked, validates the resource’s availability for the proposed job times. The validation will check if the resources have any availability set, and ensure there are no conflicting jobs or activities. If there are conflicts, these will be displayed on a job-by-job and resource-by-resource basis.
- Check Resource Availability (for shifts) – When left un-ticked, the jobs will be created with a Pending Allocation status.
- Time of day validation – Defines how to manage records if a Time of Day conflict is identified:
- ALL JOBS – Ignore the Time of Day conflicts, create all of the jobs.
- COVERED JOBS – Only create Jobs whose dates/times correspond to the Time of Day on the related service.
- NO JOBS – Do not create any of the jobs scheduled.
- Click Save to confirm the job or shift replication.
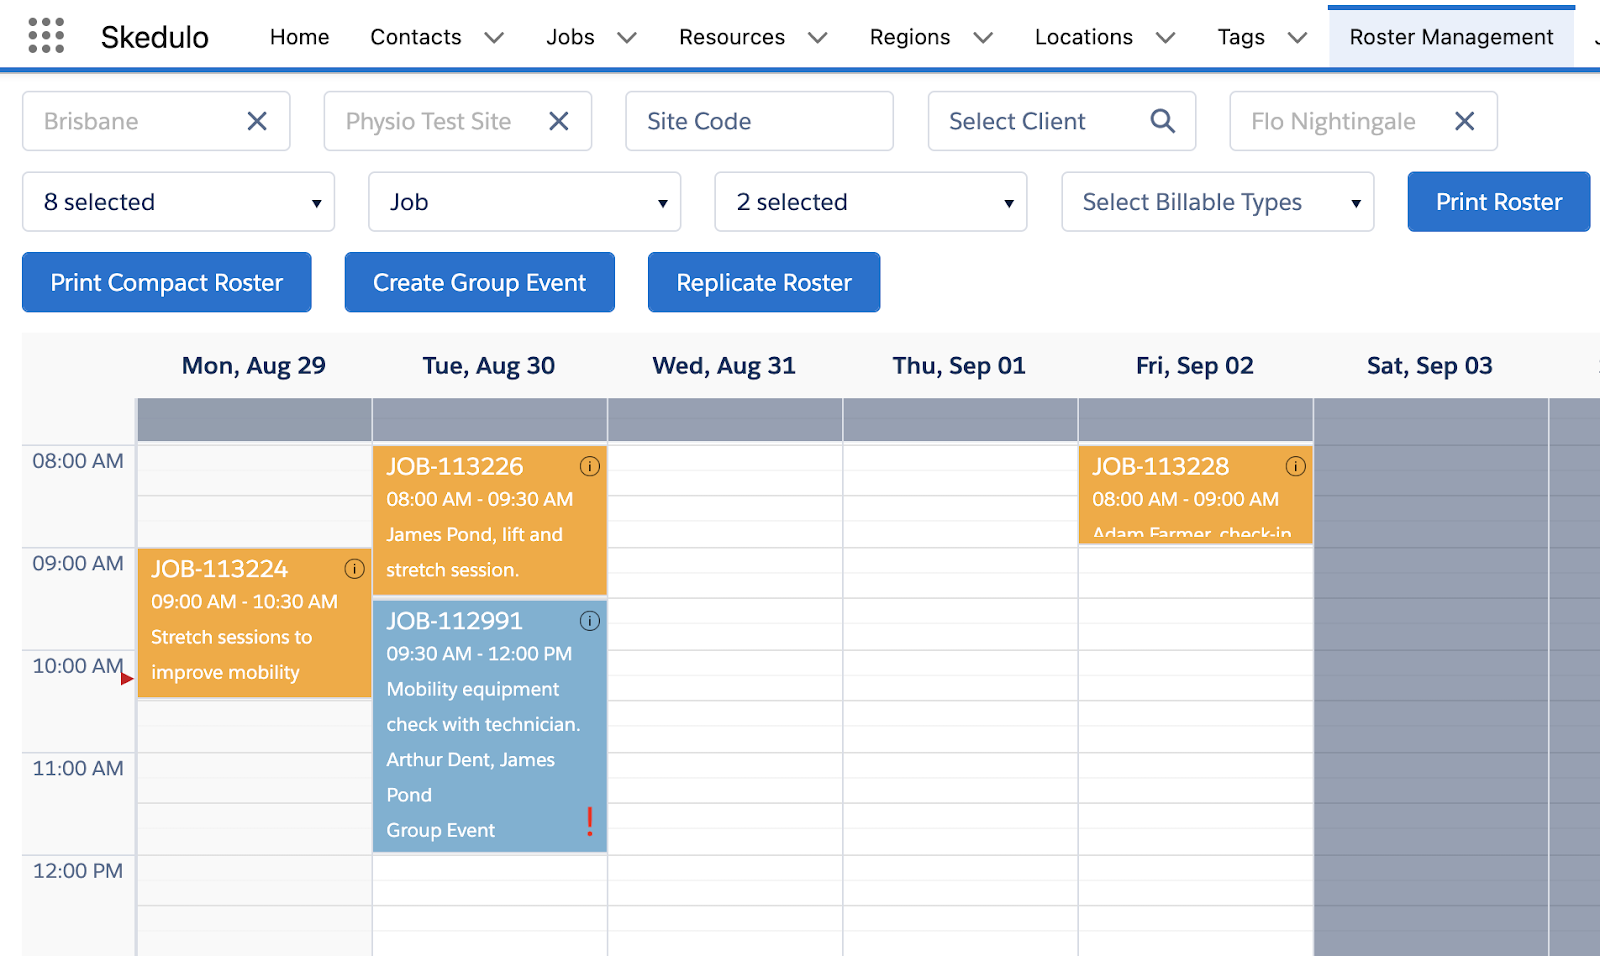
The jobs are replicated to the new time period with a Status of Pending Dispatch.
Job Record Conflicts
An example of the Job Conflicts modal follows, with actions to resolve.
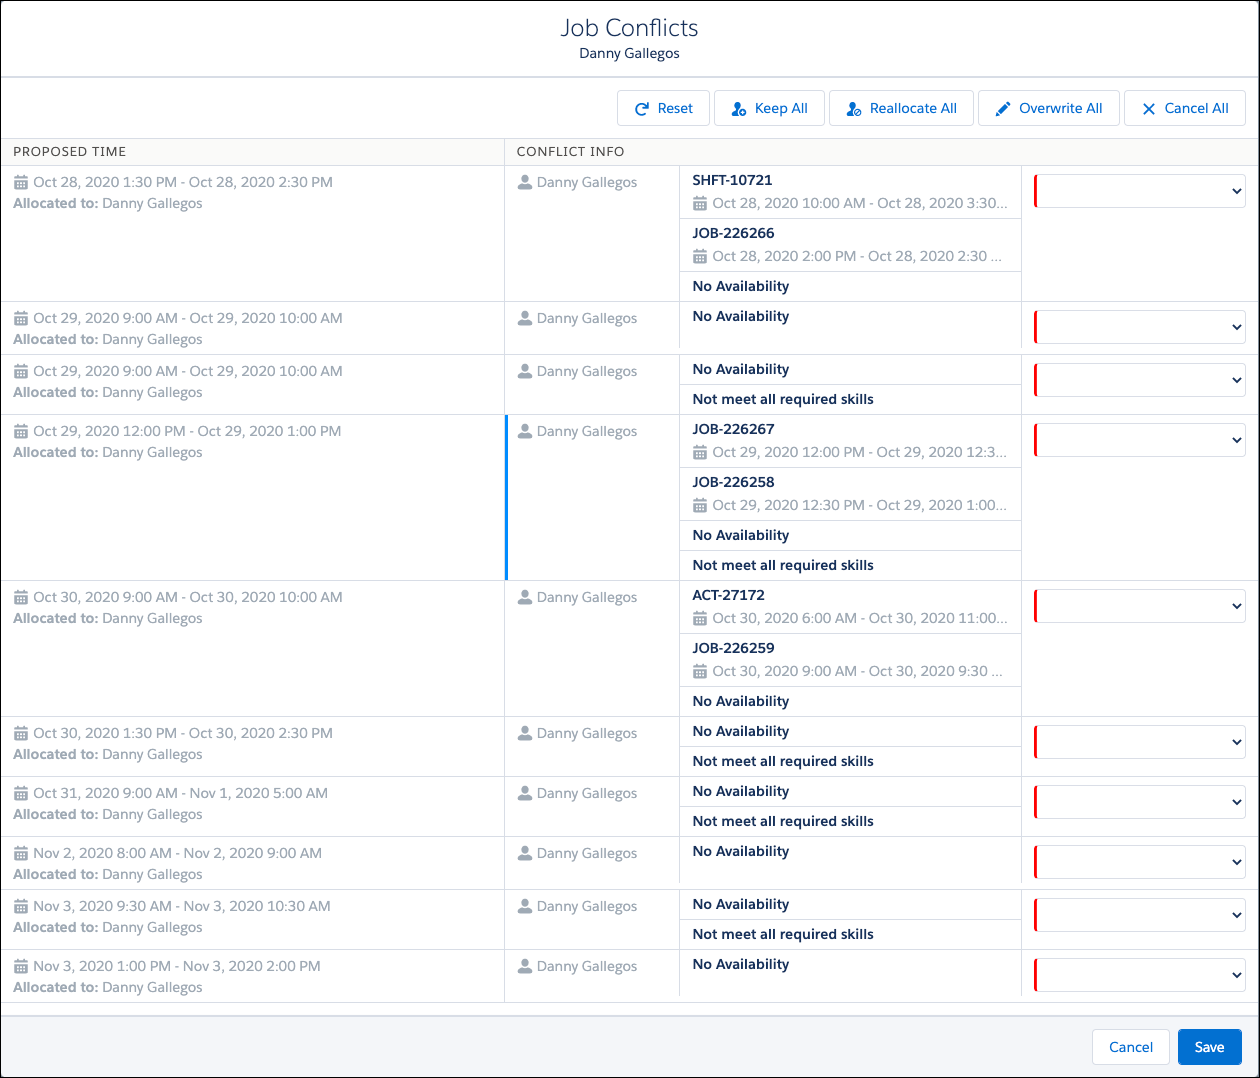
When creating new jobs, the conflicts that can display follow, with resolution options.
Availability conflicts
If the resource does not have any availability for the full period of the job, then this displays the prefix of ‘No Availability’.
If the resource has an unavailability record at the time of the proposed job, then each record will display with the prefix ‘AVAIL’.
The resolution options for when a resource does not have any availability or has a conflicting unavailability record are:
- Keep – Will continue to create the job and disregard the availability of the resources. The job will be created in a Pending Dispatch status.
- Reallocate – This will enable the scheduler to select another active resource to allocate to the job. If this is the only resource on the job, then the job will be created in a Pending Allocation status. If there are other resources on the job, then these will remain, and the job is created in a Pending Dispatch status.
- Cancel – Will remove all resources from the job and will not create the record.
Job conflicts
If the resource has a conflicting job, then each record will display with the ‘JOB’. The resolution options when a resource has a conflicting job are:
- Keep – This will continue to create the job and disregard the availability of the resources. The job will be created in a Pending Dispatch status.
- Reallocate – This will enable the scheduler to select another active resource to allocate to the job. If this is the only resource on the job, then the job will be created in a Pending Allocation status. If there are other resources on the job, then these will remain, and the job is created in a Pending Dispatch status.
- Overwrite – This will remove the resource from the existing job and create a new job in a Pending Dispatch status. If the existing job only had this resource, the status will be changed to Pending Allocation.
- Cancel – This will not create the new records.
Shift conflicts
If the resource has a conflicting shift, then each record will be displayed with the prefix ‘SHFT’. The resolution options when a resource has a conflicting shift/job are:
- Keep – This will continue to create the shift/job, so the resource will have two shifts, or a shift and job that overlap.
- Reallocate – This will enable the scheduler to select another active resource. If this is the only resource on the shift/job, then the new shift/job will be created.
- Overwrite – This will remove the resource from the existing shift/job and create a new shift/job.
- Cancel – This will not create new records.
Activity conflicts
If the resource has a conflicting activity, then each record will be displayed with the preface ‘ACT’. The resolution options for a new job are:
- Keep – This will continue to create the job and disregard the availability of the resources. The job will be created in a Pending Dispatch status.
- Reallocate – This will enable the scheduler to select another active resource to allocate to the job. If this is the only resource on the job, then the job will be created in a Pending Allocation status. If there are other resources on the job, then these will remain, and the job is created in a Pending Dispatch status.
- Cancel Job – This will not create the new records.
All other functions found in the Roster Management Console are listed in the user guide ‘Roster Management Console functions‘.