The Resource Roster Console (RRC) is a console that enables schedulers to view all work for some or all resources for a payroll period or calendar period.
The RRC is accessed by the Resource Roster Console tab in Salesforce.

Fig: Resource roster console
Console Content
Start Date
By default, the current date will be the first day displayed if Calendar is selected and the first date of the timesheet period if Pay Period is selected. Resources are presented in alphabetical order. Use the pagination feature to toggle the resources you see.
Calendar display controls

The control located in the top right of the console includes:
- Pay Period / Calendar
- To enable view switch: Set up -> Custom setting -> Skedulo Configs -> RRC_Switch_View -> true
- To set default value in this field: Set up -> Custom setting -> Skedulo Configs -> RRC_Default_View

- Select Calendar to display: Day, Week, 2 Weeks, or Month.
- Start Date – Display the first day of the calendar view. You can select a different start date to display when the view is set to Calendar.
- Left Arrow (<) – Move the calendar display back by time period.
- Right Arrow (>) – Move the calendar forward by time period.
- Today – Return the calendar or pay period to the current date with the current date highlighted.
- Select Pay Period: When users switch to the Pay Period view, the data shown on in the console with the period contains the selected date. The calculation will be made based on 2 custom settings:
- Pay_Period_Start_Date: Define what date the pay period starts
- Pay_Period_Length: Define the period, can be 7 or 14 days
- Other key settings can be found in the Skedulo RAC Setting and include
- Enable Activity – show/hide Activities
- Enable Availability Template
- Activity Color – Change the color of Activity card
- Availability Color – Change the color of Availability card
- Unavailability Color – Change the color of Unavailability card
- Shift Color – Change the color of Shift card
- Job Color – Change the color of Job card
- Respect Resource Timezone – Allow to view the cards based on either resource’s timezone or user’s timezone (who is currently logged in)
Pagination
Selecting Pages
Select or scroll through pages to view additional resources.
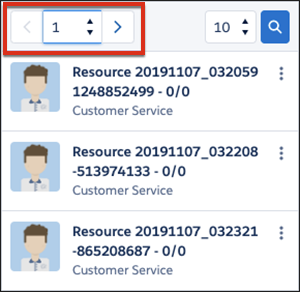
Fig: Page selection
Resources Per Page
Select the number of resources listed per page.

Fig: Number of resources per page selection
Quick Search
Enter part of a resource name to quickly filter the resource list for matching names.

Fig: Quick search example
Filters
You can use the filters at the top of the console to filter resources using several parameters and actions.

Fig: Roster resource console filters
Parameters
- Resource names – Enter the letters of the first or last name of a resource and select the matching record.
- Tags – Enter the names of tags to filter resources that have matching tags.
- Regions – Enter the names of regions to filter resources by their primary region.
- Categories – Enter resource categories to filter resources by category.
Multiple records can be selected when filtering by Resource Name, Tags, and/or Region.
Actions
- The Apply button becomes active once valid parameters have been entered. Click the button to filter for matching resources.
- The Clear button removes the filters and refreshes the list of resources.
- The AND function searches for resources with all of the parameters entered.
- The OR function searches for resources with any of the parameters entered.
Note: When multiple records are selected within a parameter (e.g., multiple tags) these are always treated with the AND logic.
Resource Roster Console Layout
All resource work, activities, and availabilities are laid out in a grid format with resources listed on the left column and dates listed in a row above the records
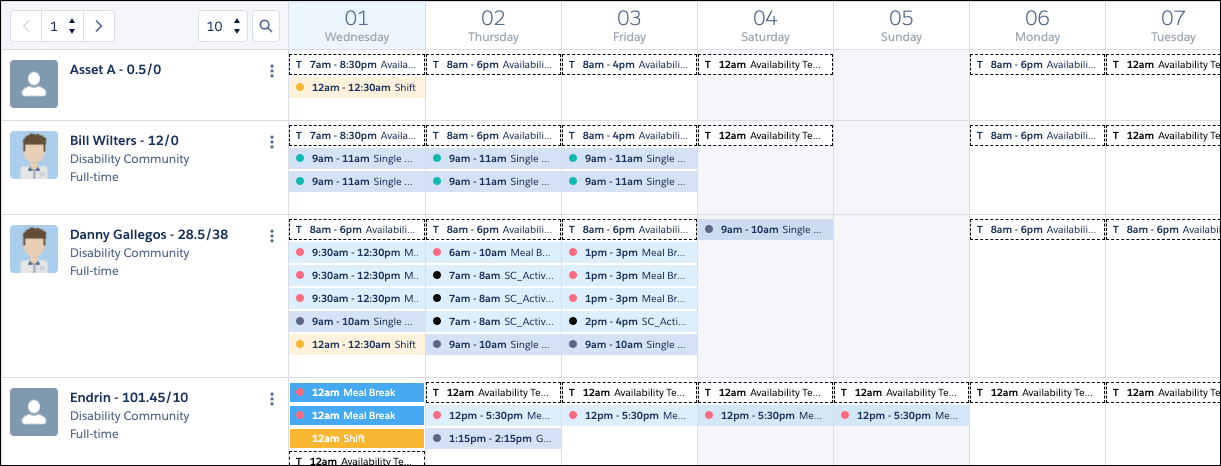
Fig: Resource work and activities
Hover over a work, activity, or availability record to display details about that item.
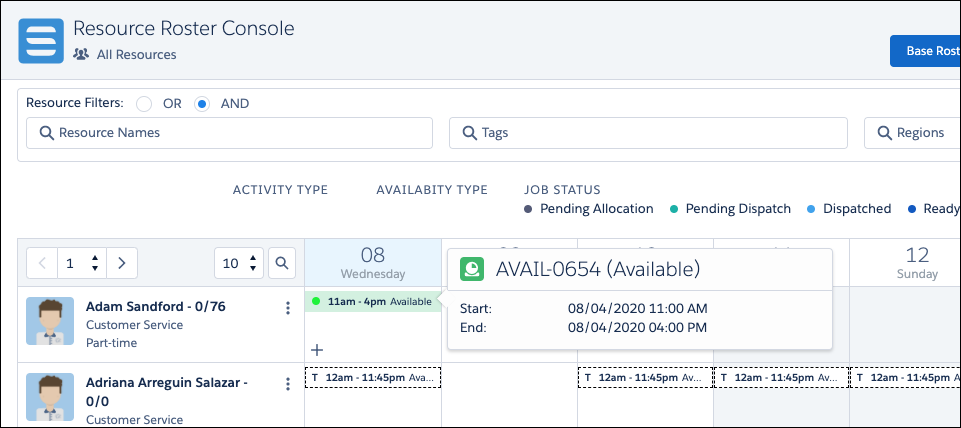
Fig: Availability example

Fig: Unavailability example
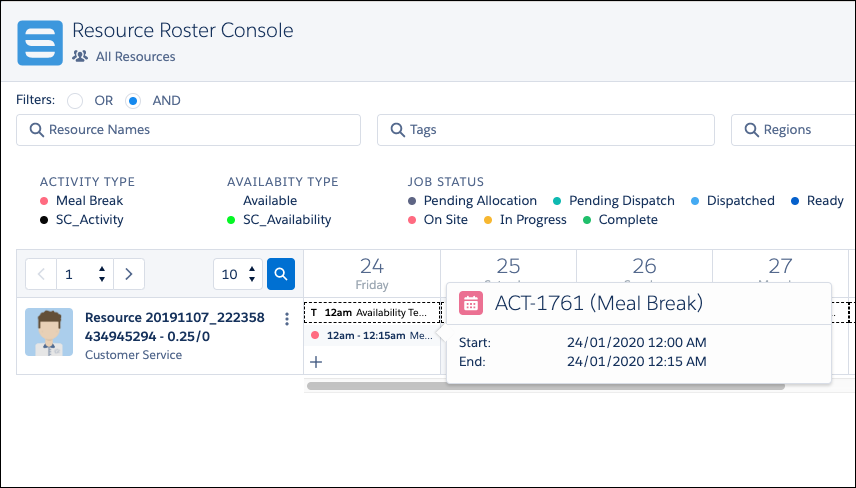
Fig: Activity example
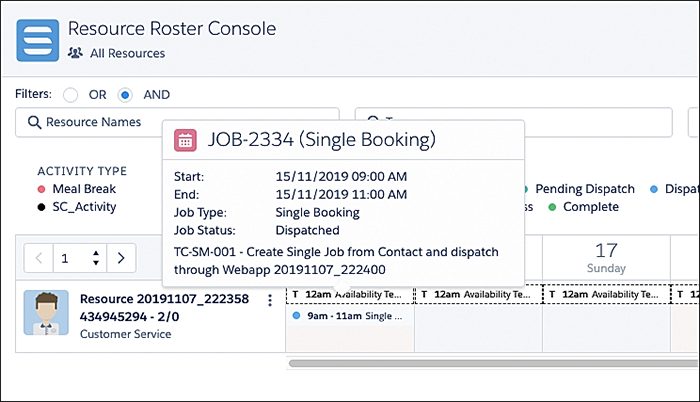
Fig: Single client job example
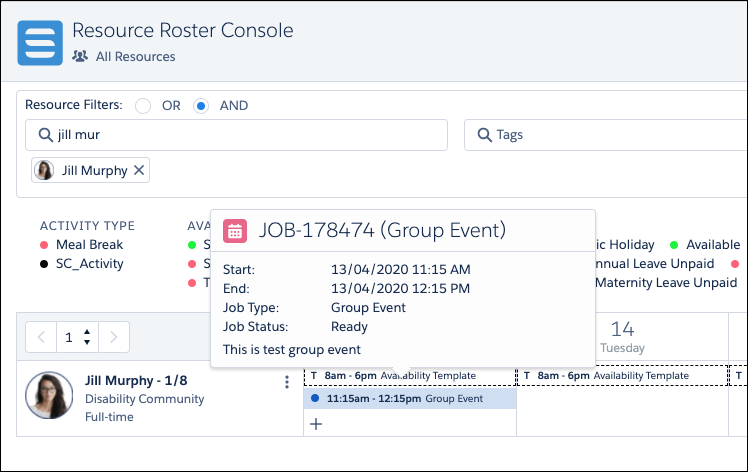
Fig: Group event job example
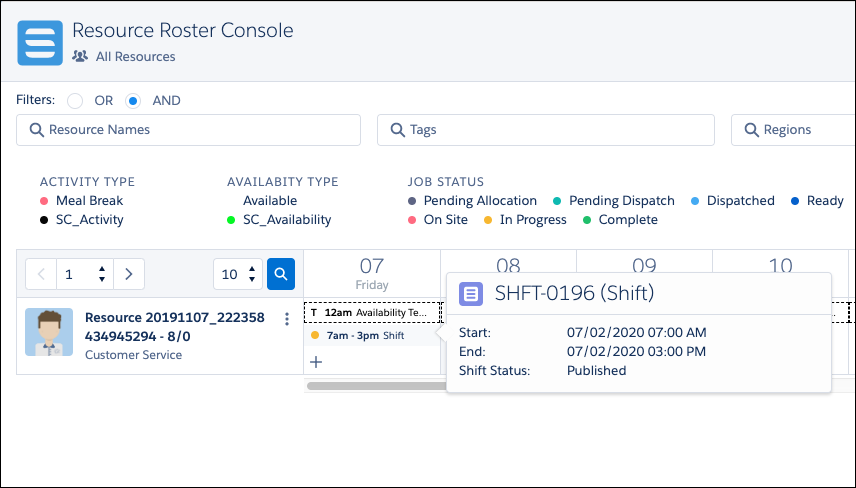
Fig: Shift example
Scheduled Hours vs Contracted Hours
A resource’s scheduled hours and contracted hours can be viewed near their name on the Resource Roster Console.

Fig: Scheduled hours / contracted hours example
Values are shown as Scheduled Hours / Contracted Hours where:
- Scheduled Hours equals the total work hours scheduled for the resource for the selected payroll period and various values can be included or excluded by configuring several custom settings. Refer to ‘Scheduled Hours / Contracted Hours’ in 16. Administration – Scheduled Hours v Contracted Hours , article.
- Contracted Hours equals the value set on the resource’s Salesforce record for their Contracted Hours.
View Period
The View Period function for a resource opens a new screen that provides granular detail of the work, activities, and availability for an individual resource.
Work, activities, and availabilities can be added, edited, or deleted from this view the same as records on the main Resource Roster Console view.
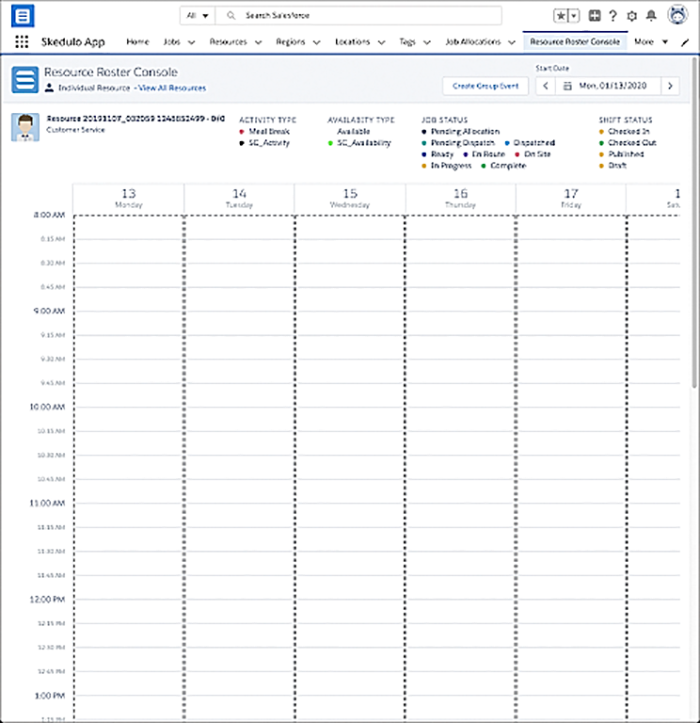
Fig: Viewing an individual’s view period
The individual resource view can be accessed from the resource’s name on the Resource Roster Console.
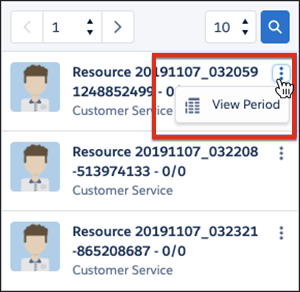
Fig: Selecting the view period option for a resource on the roster resource console
Select the View All Resources link to return to the main view of the Resource Roster Console.

Fig: Select the view all resources link to exit from an individual’s view period