To ensure the Scheduling Console is visible to Schedulers, follow these steps to clone the Scheduler Permission set:
- Make sure that the custom setting (HCP) or the custom meta data setting (ACD) Enable_Scheduling_Console is set to true.
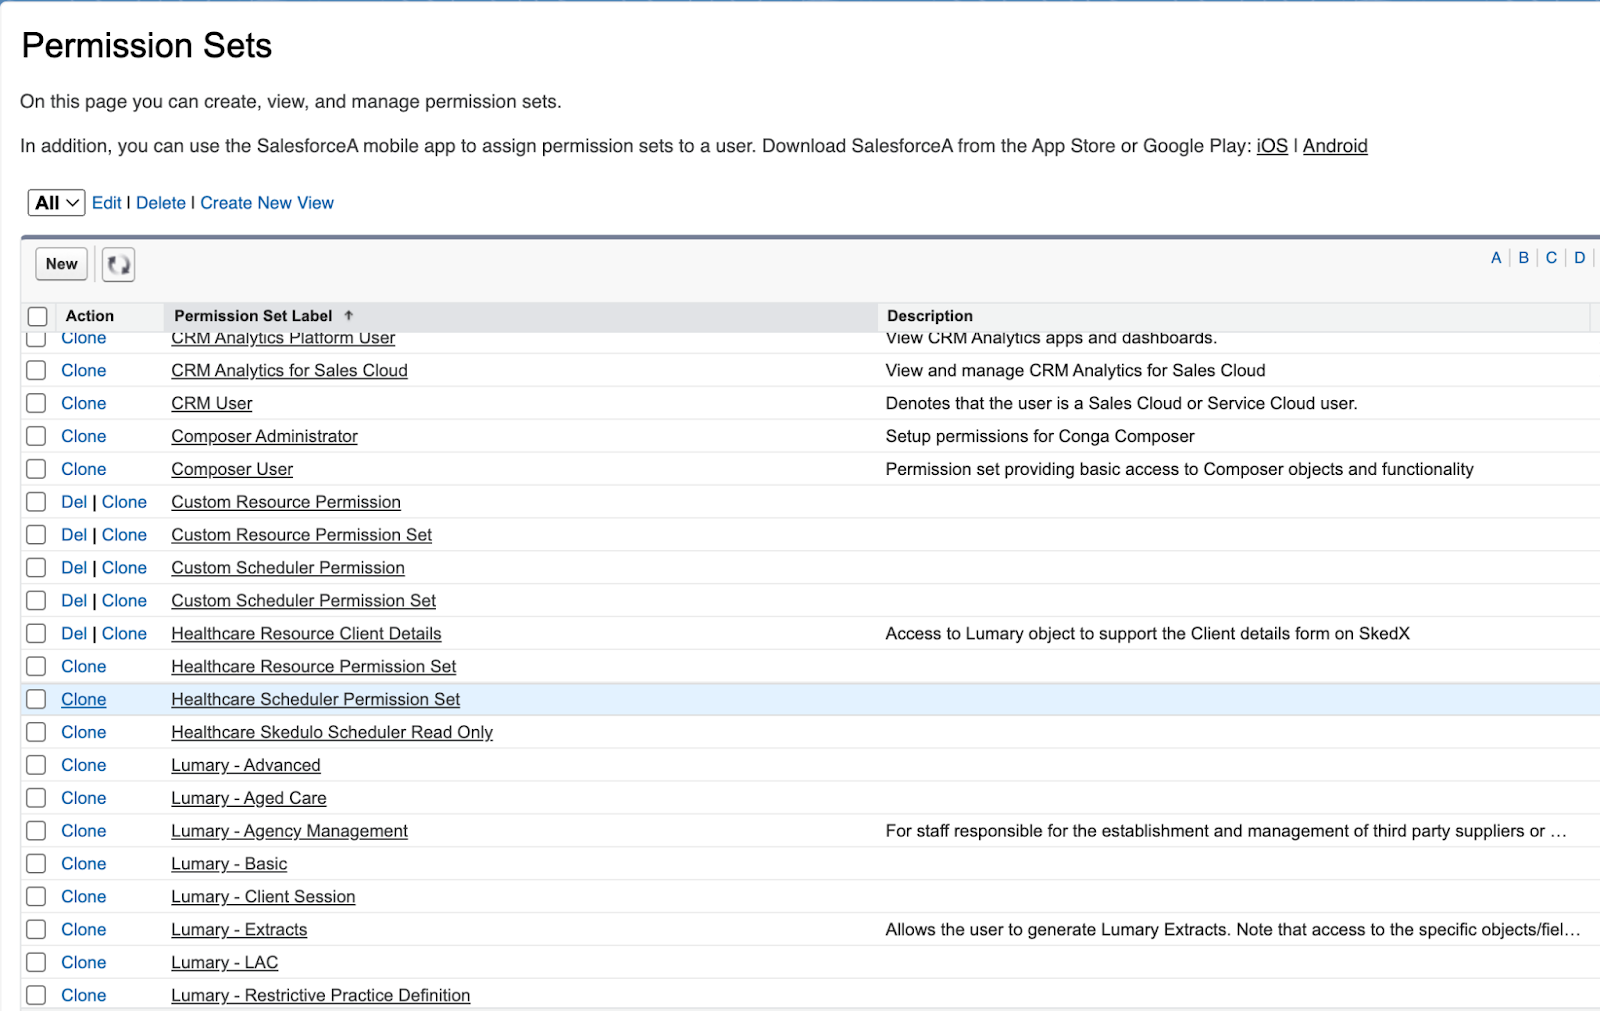
- In Set Up search Permission Sets, locate the Healthcare Scheduler Permission Set and select Clone
- You’ll then be asked to enter permission set information.
Label: Name of the new permission set, you can name it anything you like, but it is best to ensure the name reflects that it is a Healthcare Scheduler Permission Set. You might just choose to add “cloned” to the end of it.
API Name: This field will be automatically populated when the label is filled
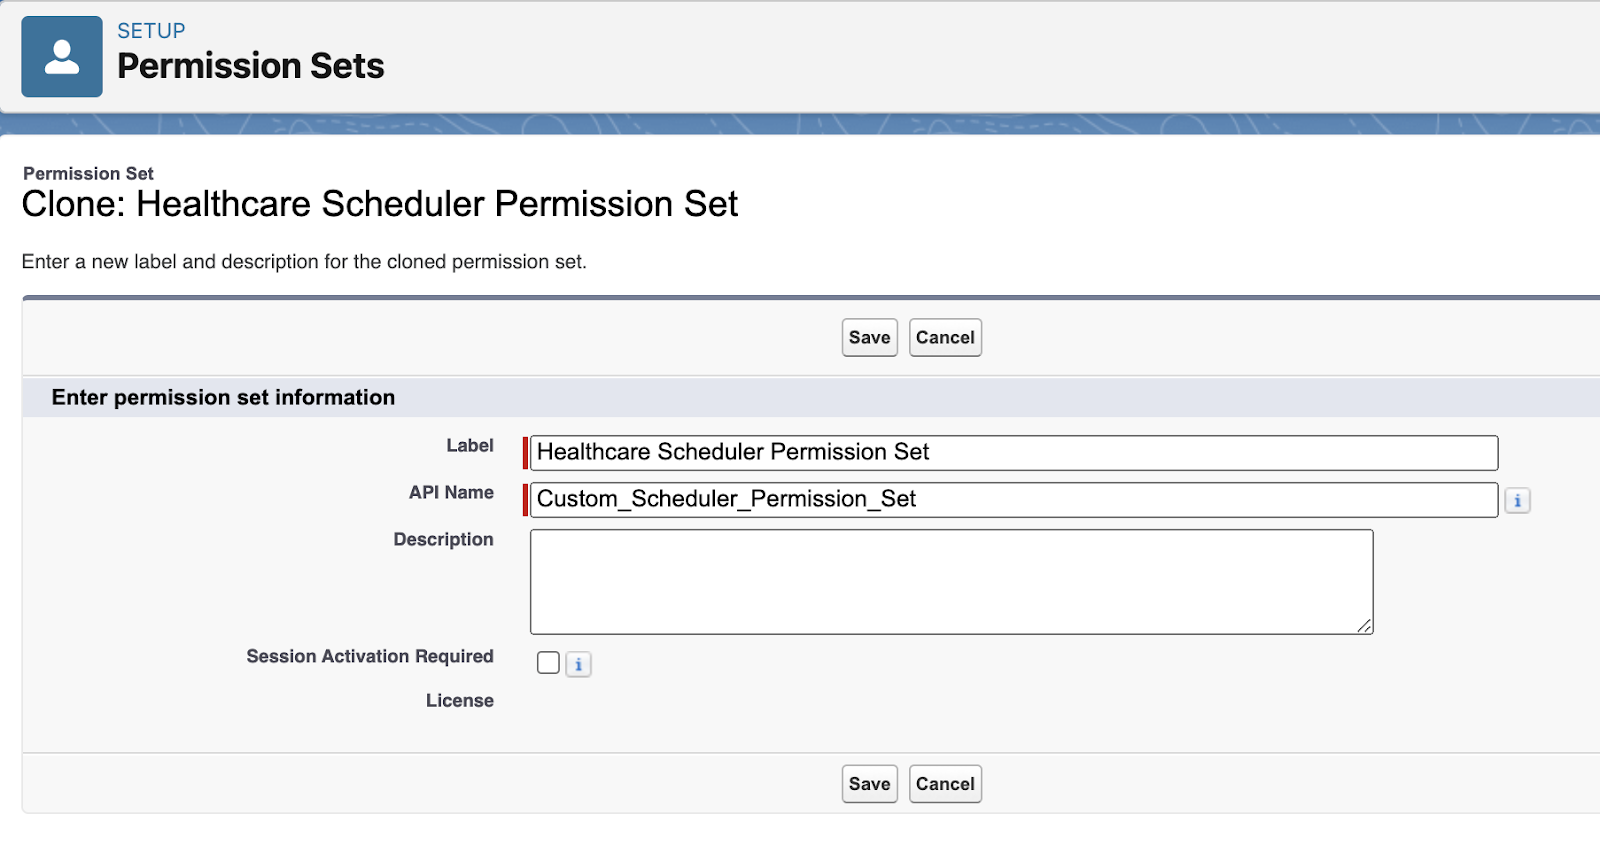
- Click Save to complete cloning the new permission set.
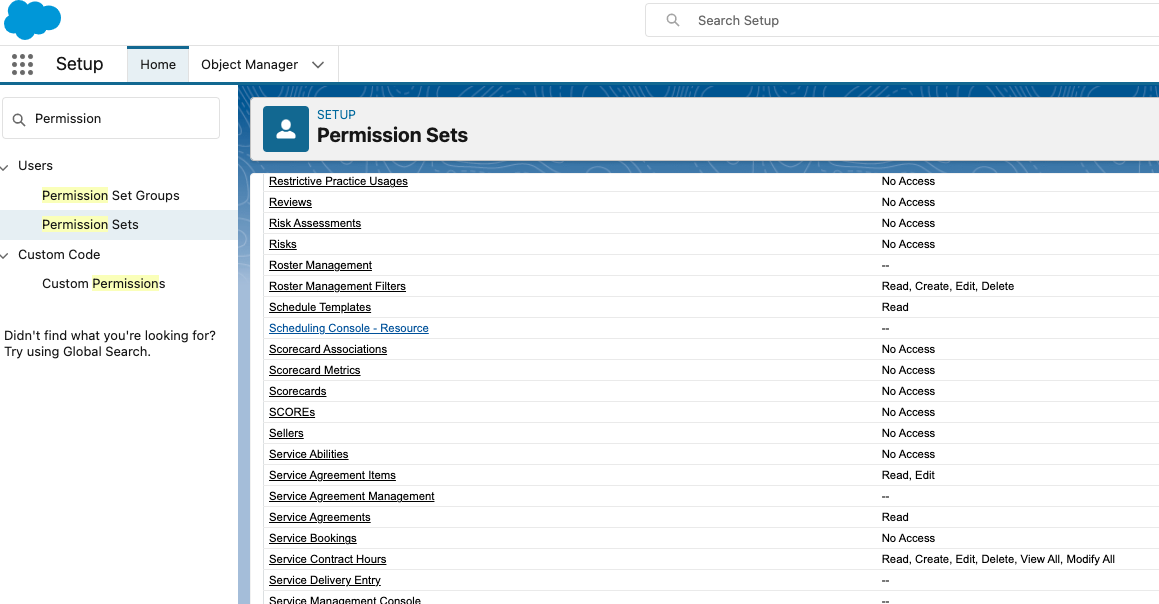
- Once the cloned permission is saved select object settings. Here you’ll be able to provide access to different objects/consoles of the package.
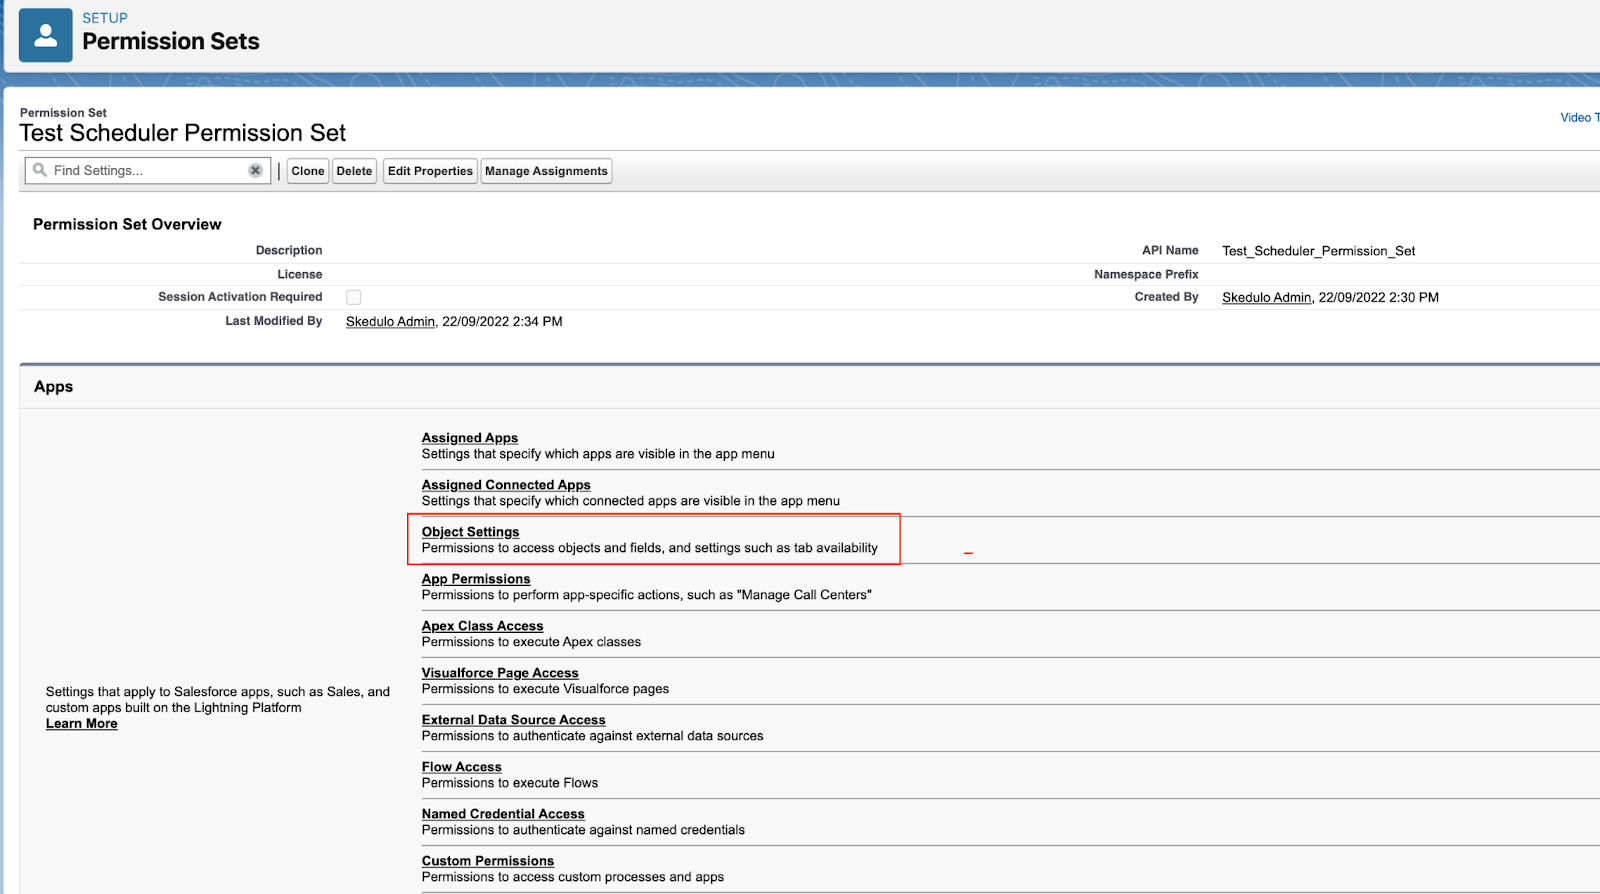
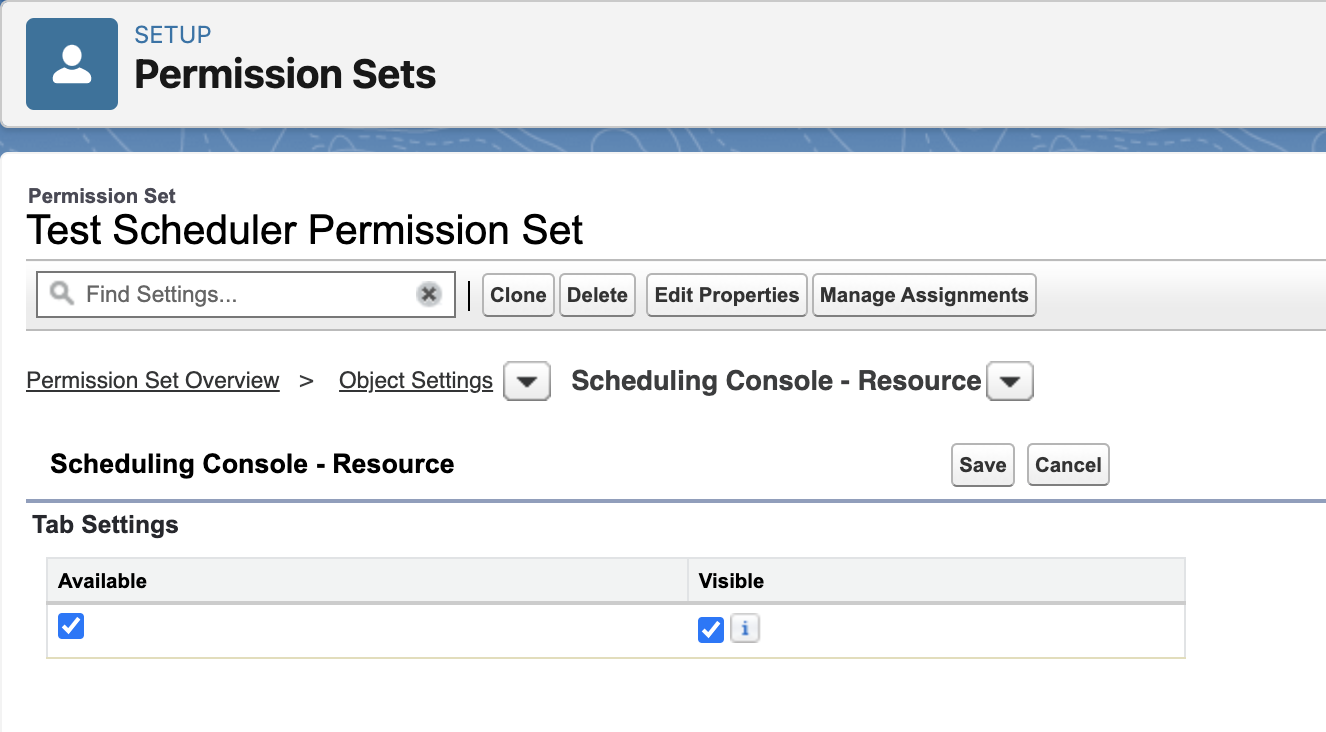
6. Locate and Select Scheduling Console – Resource.
- Click Edit and check the Available and Visible checkboxes to make the scheduling console visible and available to use, then save
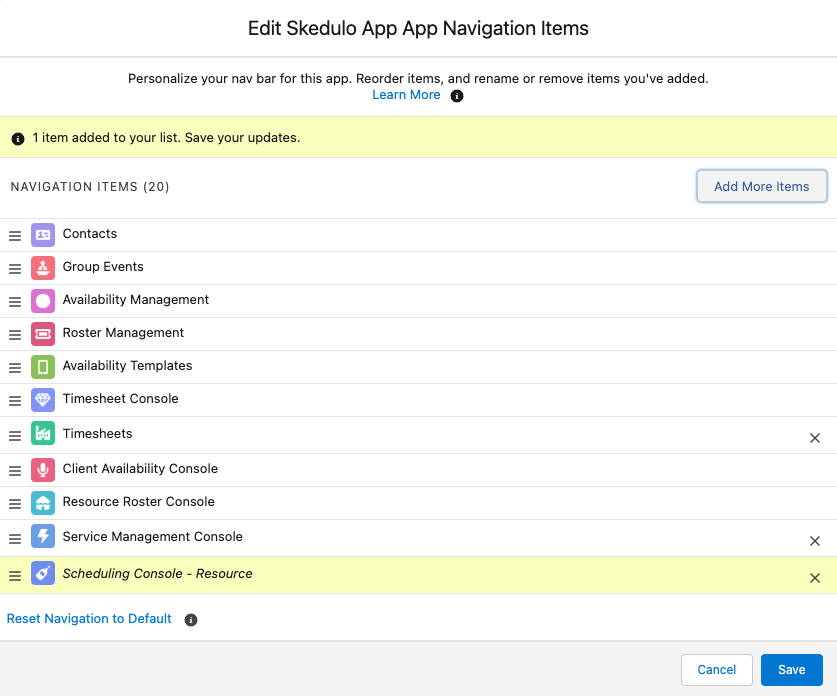
Add Scheduling Console to navigation bar
The Scheduling Console is accessed via the Skedulo navigation bar. If it is not available on the navigation bar, or within More options, it can be added as described below.
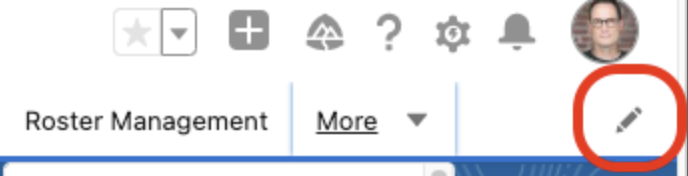
Edit the navigation items to add the Scheduling Console as follows:
- Select the Pencil icon on the navigation bar right-side.
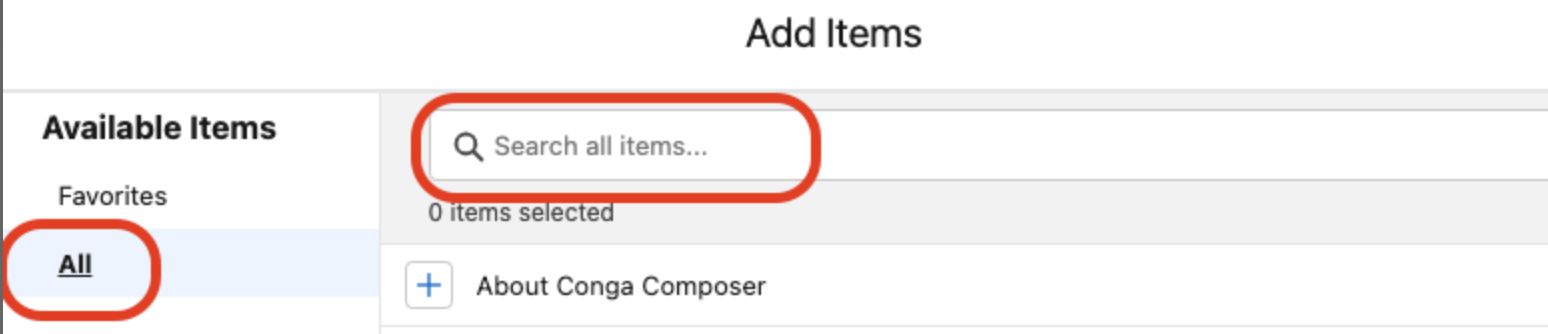
- Select Add More Items.
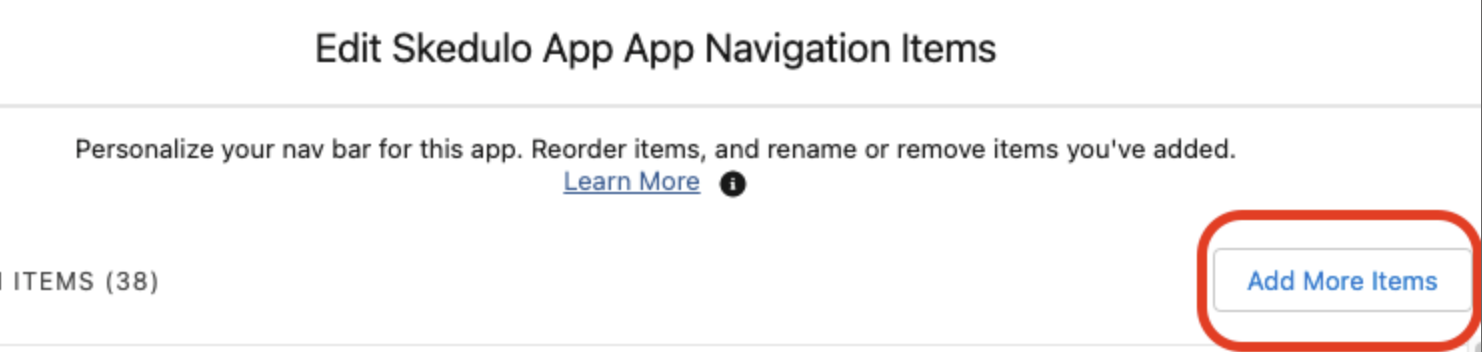
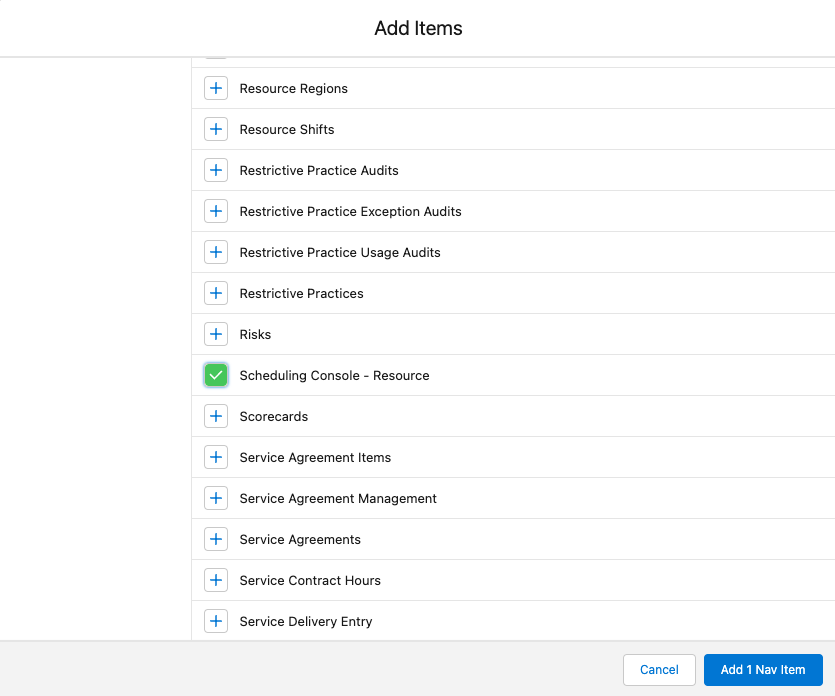
- Select All and search for “Scheduling Console – Resource”.
- Select the console from the Add Items list and click Add 1 Nav Item.
- Click Save to confirm the navigation item.