A single client job can be created by selecting a time frame on the calendar, when filtered for a client and view is set to Job. A resource can also be selected.
The client and resource selected in the filters will be automatically added to the job.
Note: The custom setting 'Active_Client_Statuses' restricts client searches to a set of configured statuses when creating jobs on the Roster Management Console. Setting options are: Use the client status options to define the clients to be returned in the search; Use a comma to delimit each option.
Hint: Set 'Active_Client_Statuses' to 'Current, Waiting' to restrict the search to include only current clients or waiting clients.
To create a new job from the console:
- Select the Client and set the View to Job. The Resource can also be selected.

The calendar displays scheduled jobs and activities.

- Click on an available calendar time or click and drag to select a time frame.
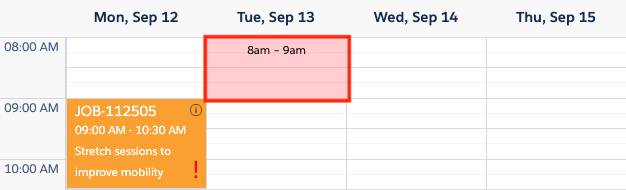
- The Create Job modal displays, showing information from filters selected.

- Click Schedule Job to create the new job. The Schedule Job modal displays. Refer to Single Client Bookings, Single Client Bookings for guidance on creating and allocating the job.
The new job is added to the calendar.
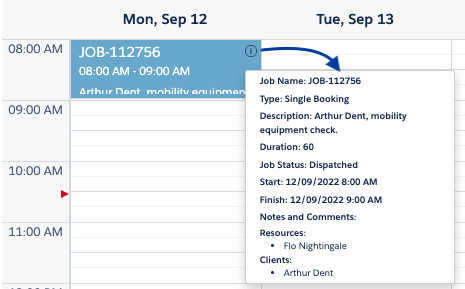
You may need to refresh the view to see the job card. Re-selecting a filter option will refresh the display.
All other functions found in the Roster Management Console are listed in the user guide ‘Roster Management Console functions‘.